Showing posts with label christmas tree. Show all posts

Wednesday, December 26, 2012

Handprint Christmas Tree

I'll admit, I have no "during the project" pictures for this one, because we did this while T was at work and I'm not Superwoman. Painting my toddler's hand and doing the handprints was job enough for me without trying to take a picture of it, too :)

WHAT YOU NEED:
     - green paint
     - paper bag or large construction paper
     - yellow paper or paint
     - baby hand (baby is optional)

There is a hard way and an easy way to do this. Let's say I learned the hard way. Set the paint and paper up and paint your toddler's dominant hand liberally. You want to make sure you have enough room to do three handprints across the bottom. Reapply paint as needed. Top the bottom row with 2 handprints in the middle row. Follow with one handprint on the top. Let dry and add a star (paint, paper, whatever you choose) and a tree trunk, if desired.


Red Christmas Tree

This craft uses a left over template from some Christmas gifts I made and leftover poms from several other crafts we have done. Roo loved that the tree wasn't green like it usually is. She finds it funny when things are silly colors.

WHAT YOU NEED:
     - 1 cardboard "tree" shape
     - red paint
     - tacky glue
     - a few poms

This craft is really plain and simple. Let your toddler paint the tree to their heart's content. Let dry for a few minutes.


Let your toddler decorate with poms and glue. Roo says "boop" with each pom she adds :)


Friday, December 21, 2012

Touch and Feel Winter Scene

I saw this on a blog a couple weeks ago and thought it was adorable. It actually went really well too, which I didn't think would be the case! This craft has many different textures to stimulate your toddler's curiosity.

WHAT YOU NEED:
     - 1 sheet cardstock or cardboard
     - 1 blue construction paper sheet
     - yellow and green paint
     - 1/4 cup rice
     - 5-6 cotton balls
     - glue

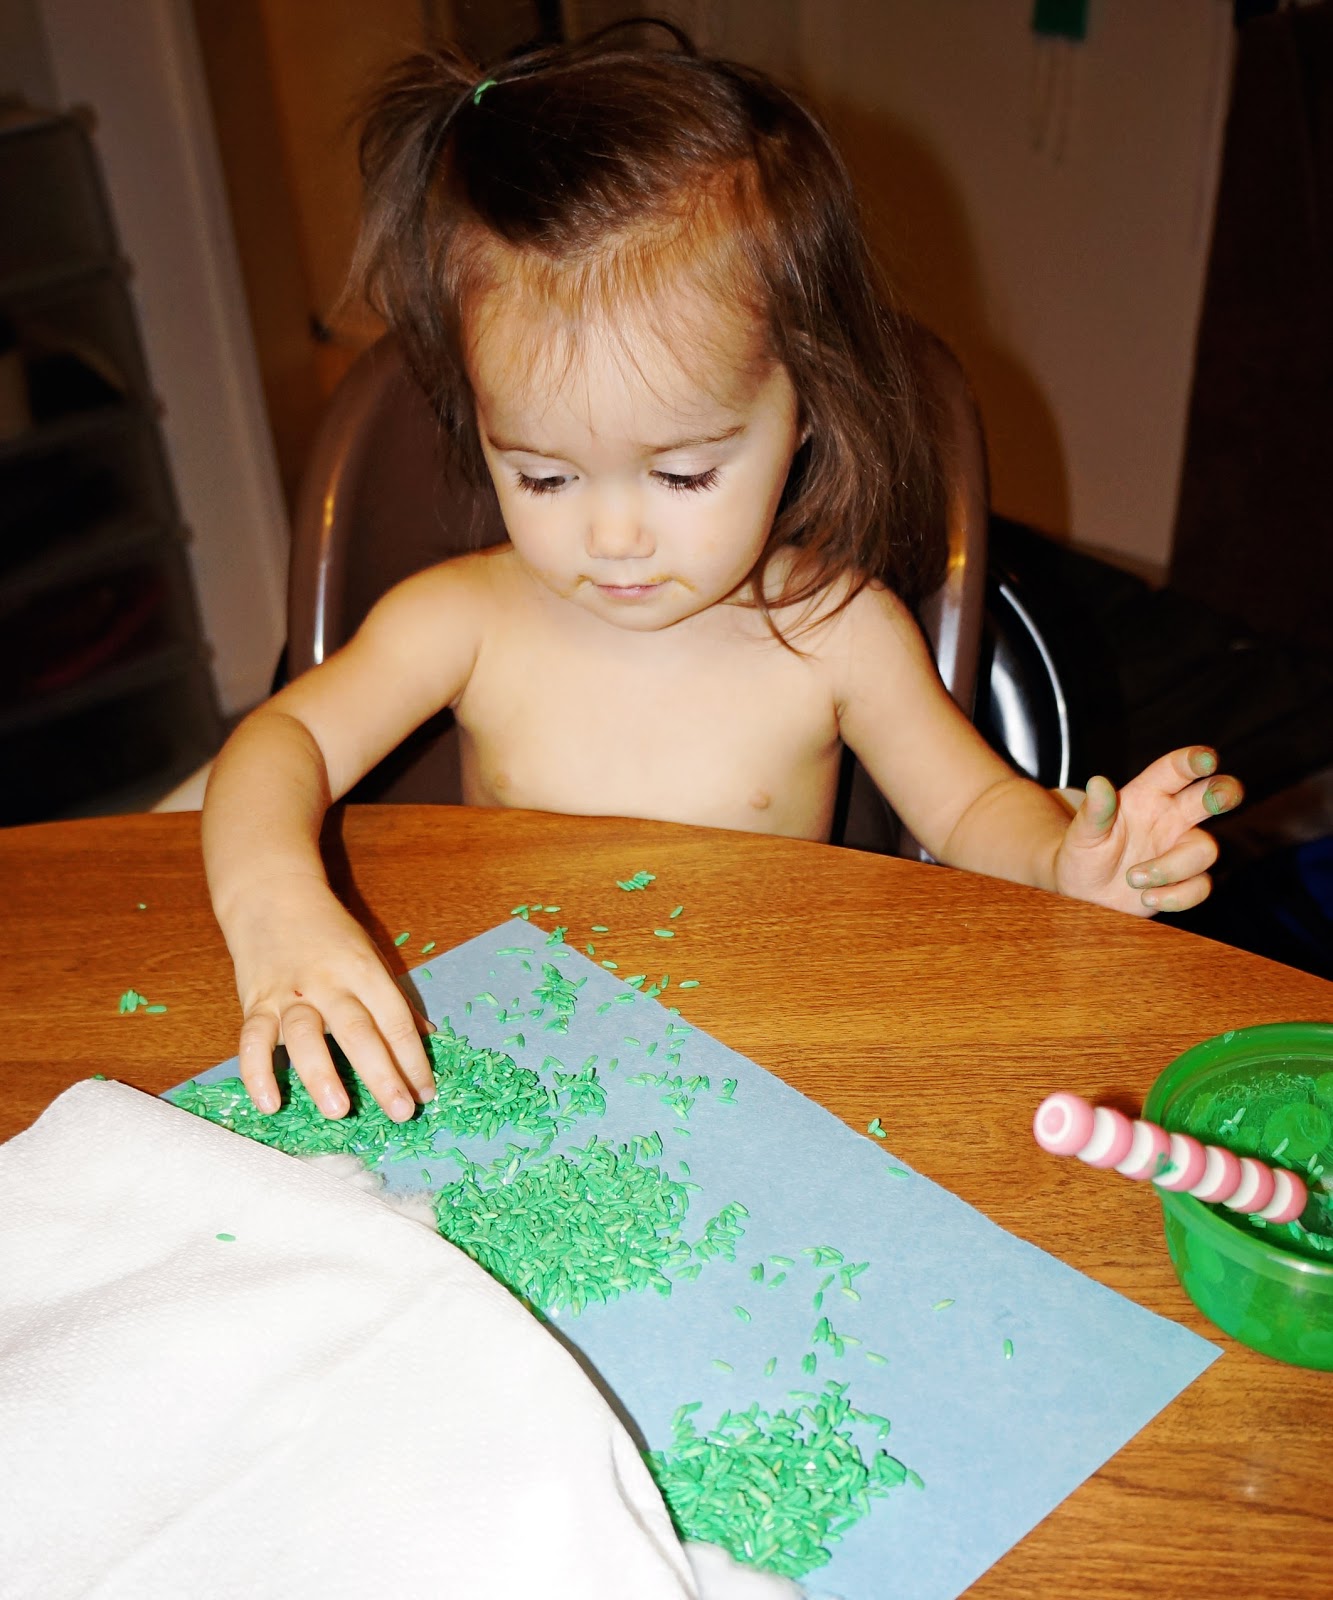
Before you begin, you need to color the rice with a few drops of green paint. Spread the rice out and let dry for about a half hour. Affix the construction paper to the cardstock or cardboard.

Now it is time for the fun! Apply the glue for the land and horizon. Tear the cotton balls into smaller, fluffier pieces and allow your toddler to cover the "ground" with them.


Paint the glue on in the shape of a tree using a q-tip. 2-3 trees should be enough. Allow your toddler to pat the rice onto the glue, the more the merrier! Shake off the excess.


And lastly, have your toddler paint a little circle of paper with yellow paint (or even, gold glitter glue if you want to be a little sparky) and, when dry, glue it to the sky section of the board.


There you have it!


Thursday, December 20, 2012

Bubble Wrap Christmas Tree

This is a super cute, really easy craft. Also, you can adapt it for so many different Christmas themes (Santa, Wreath, etc.) and colors.

WHAT YOU NEED:
     - Bubble Wrap
     - Paint and brush
     - construction paper or paper bag

Before you begin, cut out the shape of the Tree. Set your child up with the Bubble Wrap and paint and instruct them to cover the wrap with paint. Let them play around with this for a while, the more paint the better.


Place the Tree on top of the Bubble Wrap and press firmly. Your child can help rub the back of the Tree to transfer the paint. Gently remove the tree and let dry.


If you want, you can decorate the tree or add a cute star on the top like we did (ok, I did that part haha).


Saturday, December 15, 2012

Thumbprint Christmas Lights

DAY THIRTEEN:

Super excited about this craft. This is something you can redo every year and see how your child grows!

What you need:
     - acrylic or finger paint (at least 4 colors)
     - sharpie
     - 1 baby thumb (if the rest of the kid is attached, that works too)
     - paper

Before you start, draw a squiggly line from one end of the paper to the other. This will be the strand for the lights. Put only a few drops of each color of paint in a shallow container. We used baby food lids and introduced only one color at a time to avoid mass chaos making a mess. Depending on how old your child is, they can do the next part on their own or you can help them. Dip your toddler's thumb or index finger in the paint and position the print just above the strand line. Do a few of each color.


Let the paint dry completely. For us, this turned into a perfect opportunity to make a family painting, using the rest of the paint. Roo hijacked all artistic attempts and we turned out with this masterpiece! 


After the paint has dried, ground the floating light bulbs to the strand. I added Roo's name, age, and the date so we can keep this as a memory :)


Friday, December 14, 2012

Foam and Glitter Ornaments

DAY TWELVE:

I know we have been making a lot of ornaments lately, but they are so fun and make great gifts! Not to mention the fact that before these crafts, I only had about 10 ornaments for our tiny little tree ;)

WHAT YOU NEED:
     - 1 Sheet of Foam paper (or as much as you want to make)
     - glue and brush
     - glitter in variety of colors

Before you begin, Google a few ornament templates and choose your favorite. Transfer the template to your foam paper and cut them out. Put a hole punch on the top of each ornament. Loosely tape each shape to a paper bag.

Let your toddler paint on the glue. You want a good amount so the glitter can stick, and you can't take too long or the glue will dry.


Then let your little one shake the glitter like a polaroid picture crazy. Hopefully your floor won't be covered when you are done like mine was! You can do each one a different color, all multi-colored, or even create patterns if you have an older child. Roo's ended up all multi-colored, not surprisingly.


After you and your child are satisfied with them, take them outside and spray them with a clear adhesive. This will prevent the glitter from flaking off any time you touch or move them. Let them dry overnight. Loop a 5-6 inch ribbon through the hole punch and hang on the tree!


Wednesday, December 5, 2012

Pipe Cleaner & Bead Candy Cane Ornaments

DAY FIVE:

Today we are making Candy Cane ornaments using pipe cleaners and colored beads. Again, threading is great for developing fine motor skills. This is a great craft for all ages, just make sure to watch little ones so they don't decide to munch on the beads! This kept Roo busy for a good half an hour and it even branched off into a few different things as time went on ;) (See pictures)

WHAT YOU NEED:
     - Pipe cleaners
     - red and white beads

First, cut the pipe cleaners in half. This makes it easier for little hands to work. I separated the beads in a muffin tin, but bowls work too. Fold one end of the pipe cleaner over to prevent the beads from sliding off. Let your little one slide the beads on, hopefully alternating red and white. I decided to just let her do her own thing and not worry about getting the beads in the right order. Fold the other end of the pipe cleaner to keep the beads in place and then bend in the shape of a candy cane. There you have it! The perfect gift for Grandma or Grandpa :)


After the candy cane, Roo decided she wanted to make a bracelet, so Daddy helped! Another fun way to use the same supplies.


Anddddd, after she was done with the bracelet, she wanted to sort all the beads according to color. Such a little organizer :)


VERDICT: Totally fun project. It was right up Roo's alley (she really loves all things small and detailed. This kept her busy for a long time and she found several ways to have fun with it! Here is the final product- I think Nana and Grammy will love it!


Tuesday, December 4, 2012

Cheerios Garland

DAY FOUR:

Threading activities are so great for developing fine motor skills! This actually worked out perfectly for us, we have 4 boxes of Cheerios right now... Also, I think I should warn you to feed your child before making this garland. We did this when Roo was hungry and, as you can imagine, most of it got eaten.

WHAT YOU NEED:
     - about 1/2 cup of Cheerios
     - fishing line, shoe lace, or other string

Set your toddler up with a bowl of the Cheerios and the string. Roo is very familiar with threading things (we have a wooden bead set that she uses often) so she knew exactly what to do. If your little one hasn't done this yet, show him how to thread the string through the Cheerio a few times and he should catch on. When your child the string is full of Cheerios, tie the ends off and have them wrap it around the Christmas tree!


VERDICT: Well apparently Roo was starving because she ate the "garland" like a candy necklace. Perhaps I should rename the activity Cheerio Necklace?
At any rate, she had fun, and it was free! Win-win for us :)