Showing posts with label cotton ball. Show all posts

Friday, December 21, 2012

Touch and Feel Winter Scene

I saw this on a blog a couple weeks ago and thought it was adorable. It actually went really well too, which I didn't think would be the case! This craft has many different textures to stimulate your toddler's curiosity.

WHAT YOU NEED:
     - 1 sheet cardstock or cardboard
     - 1 blue construction paper sheet
     - yellow and green paint
     - 1/4 cup rice
     - 5-6 cotton balls
     - glue

Before you begin, you need to color the rice with a few drops of green paint. Spread the rice out and let dry for about a half hour. Affix the construction paper to the cardstock or cardboard.

Now it is time for the fun! Apply the glue for the land and horizon. Tear the cotton balls into smaller, fluffier pieces and allow your toddler to cover the "ground" with them.


Paint the glue on in the shape of a tree using a q-tip. 2-3 trees should be enough. Allow your toddler to pat the rice onto the glue, the more the merrier! Shake off the excess.
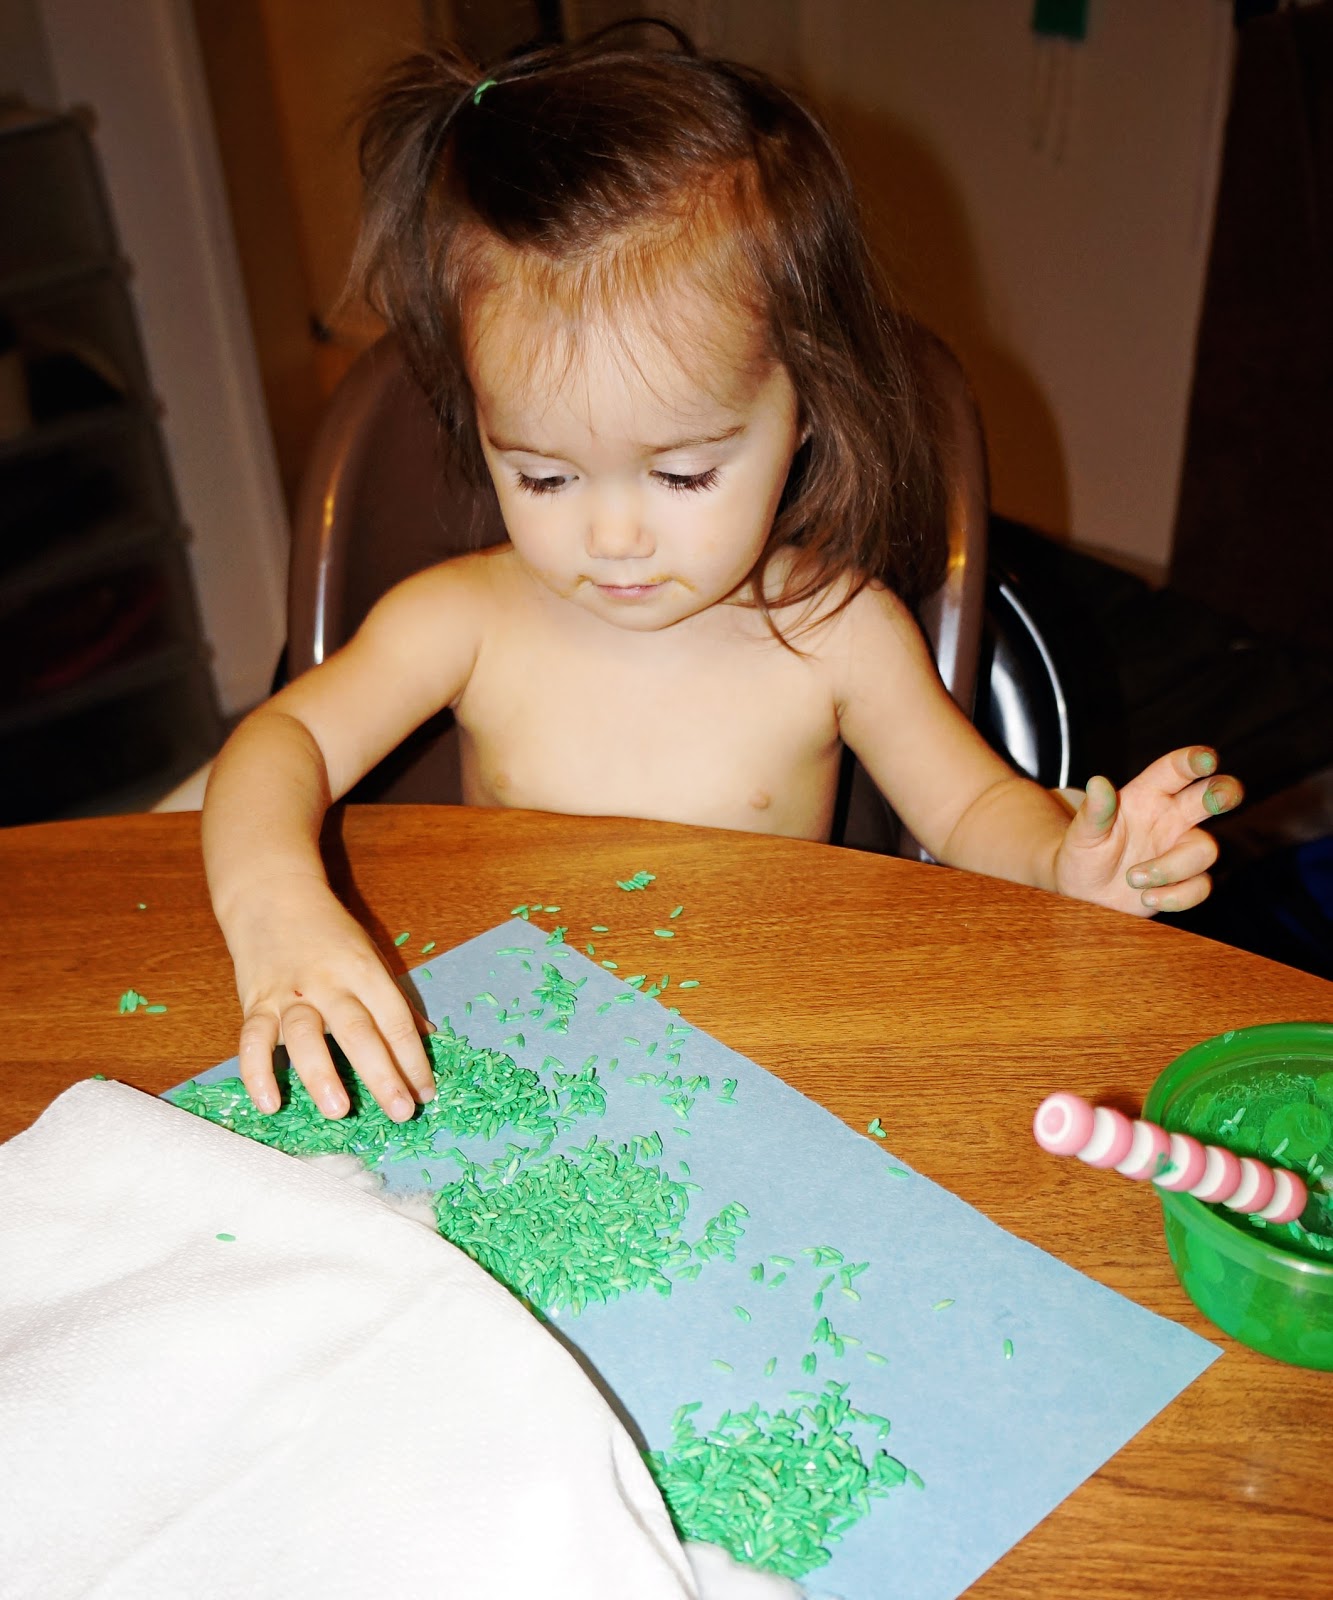


And lastly, have your toddler paint a little circle of paper with yellow paint (or even, gold glitter glue if you want to be a little sparky) and, when dry, glue it to the sky section of the board.


There you have it!


Friday, December 7, 2012

Felt Stocking

DAY SIX:

I originally wanted to do a Christmas Tree for Roo to decorate, but my store only had red felt sheets, so I had to work with it.

WHAT YOU NEED:
     - 1 Sheet red felt
     - 4-5 Cotton balls (left over from Cotton Ball Snowman)
     - mini pom balls, assorted colors
     - tacky glue

Before you start, cut out a stocking from the felt sheet. Pour some tacky glue on a plate. Instruct your toddler to "dip" the cotton balls and place on the stocking, lining the top. Then let her continue dipping and placing the mini poms on their  stocking as they desire.


Daddy even helped, too!


The final product!


VERDICT: I give this project an A+! It cost less than $1 for the supplies and there are countless ways to change it up- different shapes and different decorations. This makes it easy to adapt this to any holiday/season and you can use anything you have on hand to decorate!

Tuesday, December 4, 2012

Cotton Ball Snowman

DAY THREE:

Today we are making a Snowman! Roo's aunt's name is Shannon and she often uses "Shannon" and "Snowman" interchangeably. It's cute. But that's beside the point. Back to the craft!

WHAT YOU NEED:
     - 15-20 cotton balls
     - 1 white paper plate
     - tacky glue
     - black and orange construction paper

Before beginning, cut 2 circles for eyes and a big top hat from the black construction paper and a triangle "carrot" nose from the orange. Drizzle the glue on the paper plate as if you were icing a cinnamon roll. Ok, I'm hungry, sorry.

Let your toddler place the cotton balls covering the entire plate. If you want to be cute, you can add a little "Boop!" with each ball. When your child the plate is covered, add glue to the top to indicate where the eyes, nose, and hat should go. Allow your toddler to place the paper where it should go. Voila! Snowman.


VERDICT: Totally easy, cute activity. Even younger toddlers will be able to place the cotton balls with ease. Roo took great pride when she saw the finished product and talks to him frequently. We hung him on the tree so she can visit him whenever she wants!